
for the next lesson, I wanted to do something that ANYONE can do. All you use is items that you already have at home!!! With the exception of the fake blood.

so I went for holes! What's neat about this tutorial, is that you can cater it to be multiple different things. For example: you can adjust it into cigarette burns, holes with worms coming out of it, an infectious disease, what ever you can imagine! Get creative!
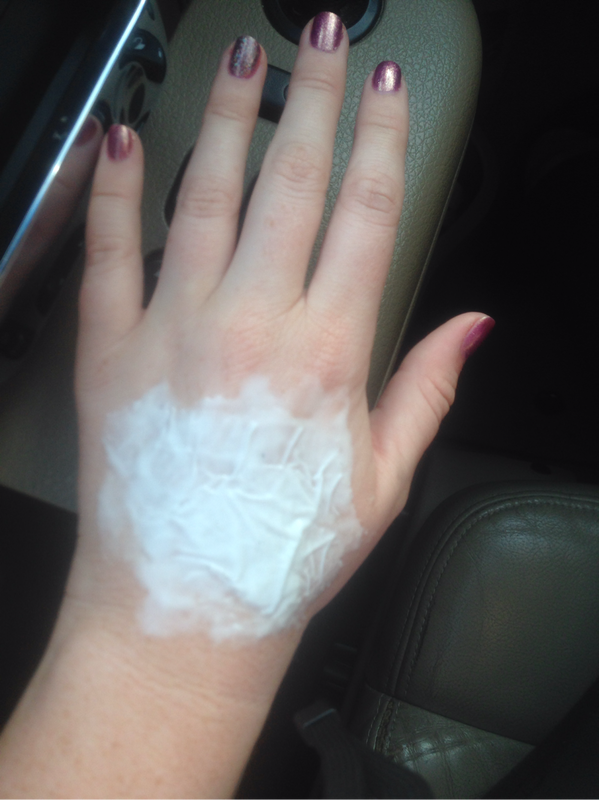
step 1: I did three layers of Elmers glue, with thin layers of napkins in between. This is a decent alternative to liquid latex, which I would not trust on my face… Personally. But children's glue is like a dollar, so it's not a big deal if you mess up.
Step 2: LET IT ALL DRY!!! (This step took me like 30 minutes, that's because I was too heavy on the glue. Next time I plan on doing thin layers, and letting them dry completely.
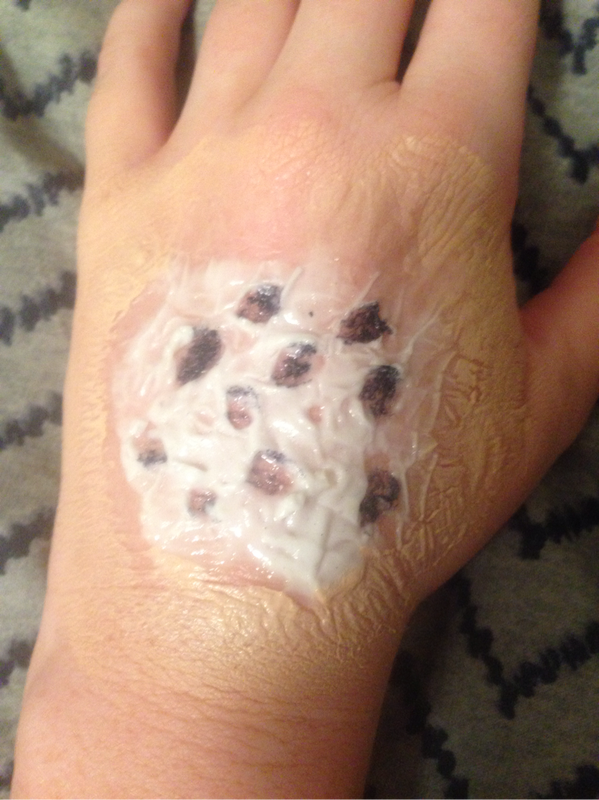
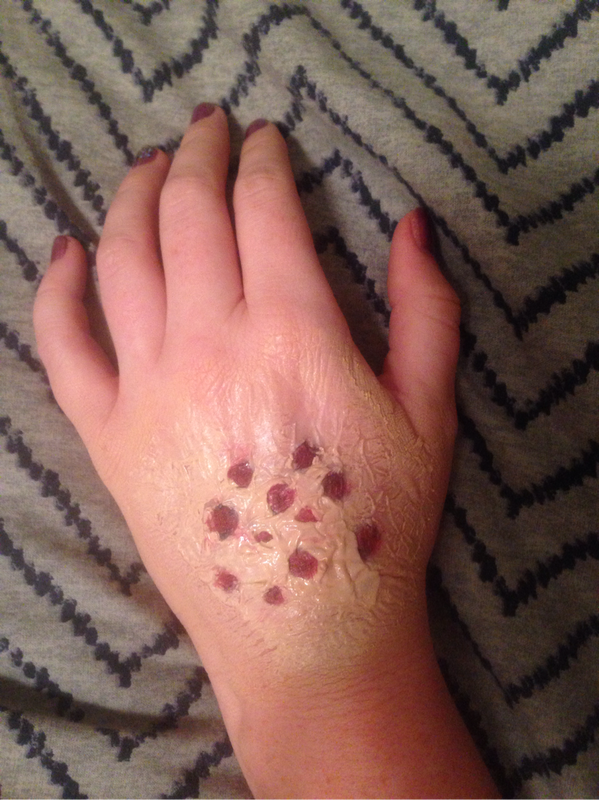
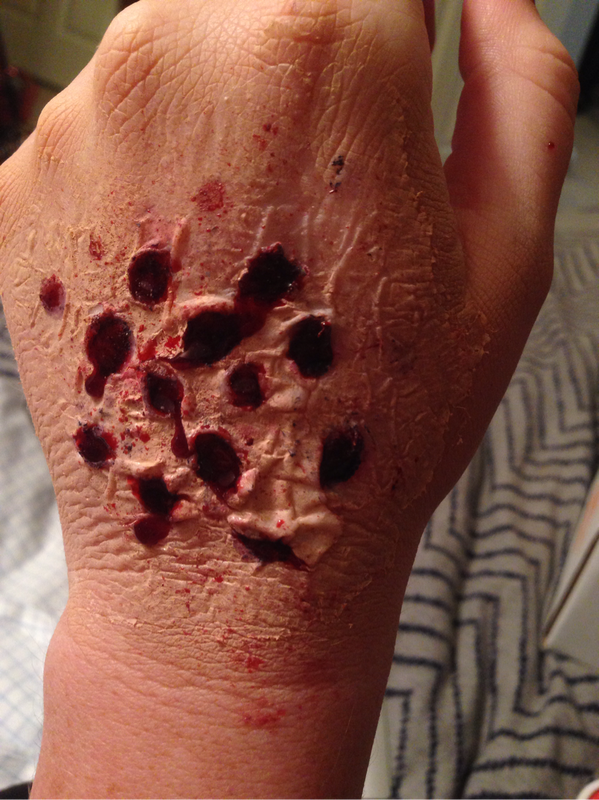
Step 3: once dry, or almost dry, I took a toothpick and started carving out circles. I then filled them with black eyeliner and red lipstick.
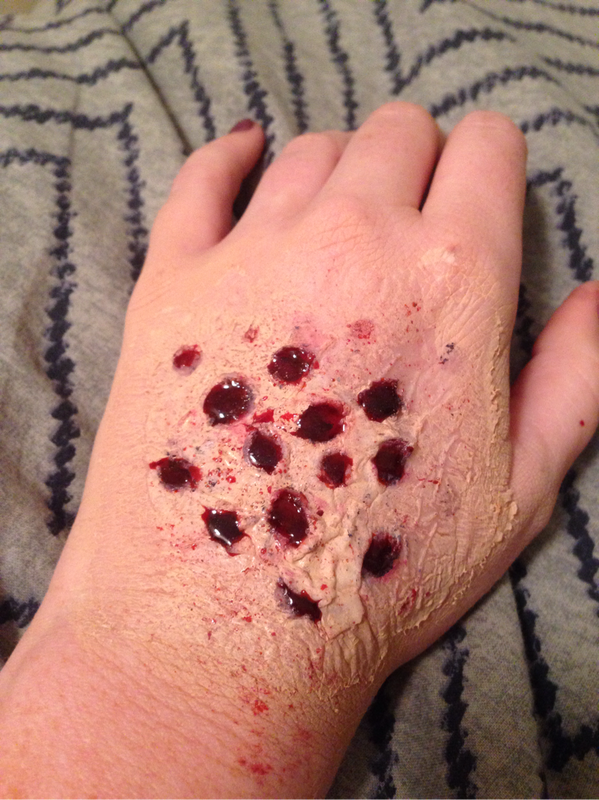
Step 4: Then it was time to add foundation all over! I always use cheap foundations for my special effects looks. I then added on the fake blood, and used a sponge around the entire area. That's it! It's that easy!
Step 2: LET IT ALL DRY!!! (This step took me like 30 minutes, that's because I was too heavy on the glue. Next time I plan on doing thin layers, and letting them dry completely.
Step 3: once dry, or almost dry, I took a toothpick and started carving out circles. I then filled them with black eyeliner and red lipstick.
Step 4: Then it was time to add foundation all over! I always use cheap foundations for my special effects looks. I then added on the fake blood, and used a sponge around the entire area. That's it! It's that easy!

And walaaaa!
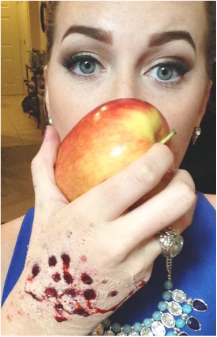
again, this is something to build off of… But it's a great idea for people that aren't ready/ don't want to invest in a special effects makeup kit. Let me know if you tried this too!!!!
 RSS Feed
